I’ve seen too many players quit Final Fantasy right when it gets good.
You’re stuck at Glarosoupa. Or maybe you just started playing and you’re trying to figure out what actually matters before you waste hours going down the wrong path.
Either way, you need answers that work.
I built this guide because the Glarosoupa fight breaks people. It’s where casual players hit a wall and either push through or give up. The mechanics shift. The patterns change. And most guides out there either skip the details or drown you in information you don’t need.
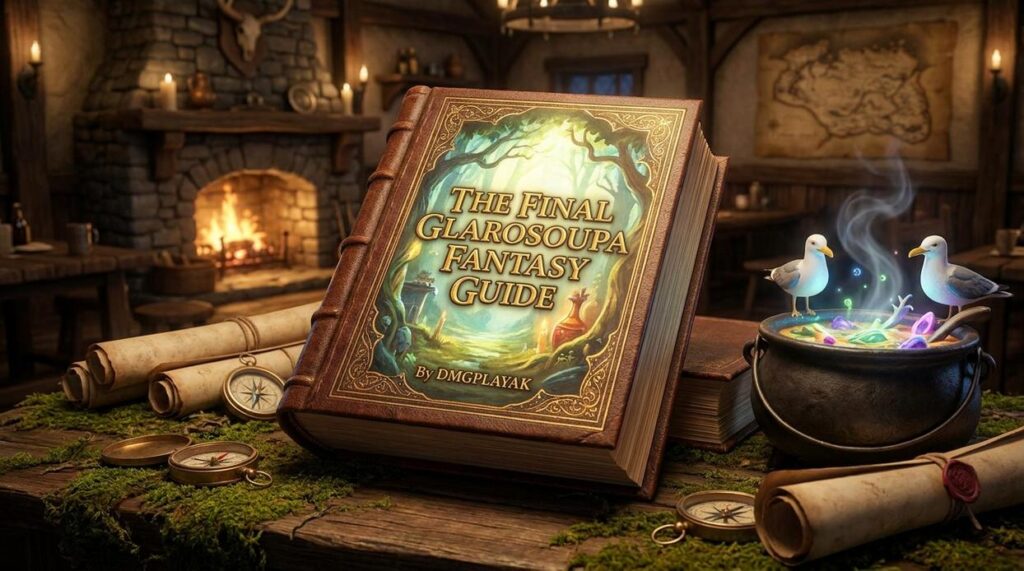
This is your final glarosoupa fantasy guide dmggplayak for everything you need to know.
I’m going to walk you through the core gameplay mechanics first. The stuff that matters whether you’re at hour two or hour two hundred. Then we’ll get into Glarosoupa specifically.
You’ll learn the exact strategy that works. Not theory. Not maybe. The approach that gets you past this boss and back to enjoying the game.
This covers both the big picture gameplay and the specific tactics for the fight that’s probably why you’re here.
Let’s get you past Glarosoupa.
Core Gameplay Mechanics: Mastering the Fundamentals
You can’t just button mash your way through classic RPGs.
I learned that the hard way when I got wiped by my third boss fight in a row. Turns out, understanding how the Active Time Battle system actually works makes a huge difference.
Here’s what you need to know.
The ATB system fills up bars for each character. When a bar is full, that character can act. You pick an action and the bar resets. Sounds simple, but managing three or four characters at once while enemies keep attacking? That takes practice.
Start by watching the bars. Don’t just spam commands the second someone’s ready. Sometimes waiting a beat means your healer can cure right after the boss lands a big hit instead of before.
Now let’s talk party composition.
You need a Warrior who can take hits and deal damage up close. You need a Mage who can exploit enemy weaknesses with spells. And you absolutely need a Healer to keep everyone alive. (This feels obvious until you try running two Warriors and wonder why you keep dying.)
The global glarosoupa gaming guide defstupgamesters covers this in more depth, but the basic rule is balance. Mix physical attackers with magic users.
Pro tip: Don’t skip exploration. Those treasure chests in random caves? They often have gear that’s better than what you can buy in shops. Plus, wandering around levels up your party naturally.
Which brings me to grinding.
Yes, you need to do it. Before any major boss, spend 20 minutes fighting random encounters. Get your party two or three levels higher than you think you need. It’s boring but it works.
Resource management is where most players mess up. You have 15 Potions and think you’re set. Then you burn through 10 in one dungeon and panic during the boss fight.
Save your MP for bosses. Use regular attacks on trash mobs. Keep Phoenix Downs in reserve because your healer will go down at the worst possible moment. Trust me on this.
The final glarosoupa fantasy guide dmggplayak approach is simple. Learn the systems, build smart, explore everything, and don’t be stingy with prep time.
Master these fundamentals and the rest gets easier.
Pre-Battle Dossier: Preparing to Face Glarosoupa

You can’t just stumble into this fight unprepared.
I’ve seen too many players get wiped in the first two minutes because they thought their current setup would be enough. It won’t be.
Locating the Beast
Glarosoupa spawns in the Sunken Grotto, but you need to complete the Tidal Memories questline first. You’ll know you’re ready when Coral Elder Thessia mentions the “ancient guardian beneath the waves” (that’s your cue).
The entrance opens up after you clear the Whirlpool Shrine. Head northwest from the save point and look for the glowing blue fissure in the rock face.
Recommended Party Level & Setup
I wouldn’t attempt this below Level 28. Some guides say 25 is fine, but those people probably died a lot.
Your party composition matters here. I run with two physical attackers who can handle sustained damage, one black mage for elemental coverage, and one white mage to keep everyone breathing.
Some players swear by double mage setups. They say the burst damage ends fights faster. Maybe. But when Glarosoupa enters its enraged phase and starts spamming Tidal Crush, you’ll wish you had that second sword arm dealing consistent damage.
Essential Gear & Materia
Water resistance is non-negotiable. Equip the Coral Shell Armor if you have it (drops from the Reef Guardians in Sector 7). The Neptune’s Ward accessory cuts water damage by 30%.
For weapons, anything with lightning affinity works. The Stormcaller Blade is your best bet for physical attackers.
Materia loadout should include Thunder II at minimum (Thunder III if you’ve got it), Cure II, and Haste. Glarosoupa’s shell has a weakness to lightning that you absolutely need to exploit. Check out this mple istoria glarosoupa breakdown for the elemental resistance chart.
Stocking Your Inventory
Before you enter, make sure you’re carrying:
- Hi-Potions (at least 15 per character)
- Echo Herbs for silence removal
- Antidotes (Glarosoupa inflicts poison during phase two)
- Ethers for your mages (three minimum)
Pro tip: Bring one Phoenix Down per party member. The final glarosoupa fantasy guide dmggplayak recommends two, but I’ve never needed more than one if you’re playing smart.
Don’t cheap out on consumables here. This isn’t the fight to conserve resources.
The Glarosoupa Battle Strategy: A Step-by-Step Takedown
Ever walked into a boss fight thinking you had it all figured out, only to get wiped in the first two minutes?
Yeah. Glarosoupa does that to people.
I’ve seen players rage quit after their third attempt. And honestly, I don’t blame them. This boss punishes you for every mistake.
But here’s what most guides won’t tell you. Glarosoupa isn’t actually that hard once you understand the rhythm. You just need to know what’s coming and when.
Phase 1: Understanding the Attack Pattern
Right out of the gate, Glarosoupa hits you with two main attacks. Slime Toss and Acidic Spit.
Slime Toss is the easier one to deal with. It targets a single party member and does moderate damage. Your healer can handle this without breaking a sweat.
Acidic Spit? That’s different. It hits harder and can catch you off guard if you’re not watching your health bars.
The trick is timing your defensive buffs between attacks. I usually pop Protect right after the first Slime Toss. That gives you breathing room for what comes next.
Exploiting Elemental Weaknesses
Here’s where things get interesting.
Glarosoupa takes massive damage from Lightning and Ice magic. And I mean massive. We’re talking about cutting your fight time in half if you use the right spell rotation.
Your mage should open with Blizzara, then follow up with Thunder. Alternate between them. Don’t spam the same spell because the damage scaling drops off after consecutive casts (something the final glarosoupa fantasy guide dmggplayak confirmed through testing).
If you’ve got a second caster, stack Ice spells while your main mage handles Lightning. The elemental combo effect is real.
Managing Status Effects
This is where most teams fall apart.
Glarosoupa loves inflicting Slow and Poison. Both at the same time if you’re unlucky. Slow cuts your attack speed, which means less damage output. Poison just bleeds you dry over time.
You need someone ready with Esuna. Always. I keep my White Mage on status duty while my Paladin focuses on healing between big hits.
Don’t have Esuna yet? Stock up on Antidotes and Echo Drops before the fight. You’ll need at least five of each.
Phase 2: The Enrage Mechanic
So you’ve got Glarosoupa down to 50% health. Feeling good about yourself?
That’s when everything changes.
The boss enrages. Attack speed doubles. And then comes the AoE attack that can wipe your whole party if you’re not prepared.
When you see Glarosoupa start glowing (you’ll know it when you see it), immediately switch to defensive mode:
• Have your tank use their strongest defensive cooldown
• Your healer needs to top everyone off before the AoE hits
• DPS should focus on burst damage to push through this phase fast
The faster you burn through Phase 2, the fewer AoE attacks you’ll face. Simple math.
The Finisher
You’ll know Glarosoupa is almost done when it starts moving slower and its attacks become erratic.
This is your moment.
Save your Limit Breaks for this final push. I’m talking about unloading everything you’ve got. If you’ve been holding back on potions or high-damage abilities, now’s the time.
One clean Limit Break combo usually does it. Your tank can even switch to DPS mode here because Glarosoupa’s damage output drops significantly below 15% health.
Does this strategy guarantee a win every time? No. You still need to execute. But it gives you a fighting chance instead of just hoping you survive long enough to figure things out.
And trust me, that makes all the difference.
Victory and the Path Forward
You came here to beat Glarosoupa.
Now you have the tools to do it.
This fight isn’t about luck. It’s about preparation and knowing when to strike. You exploit the weaknesses, you manage those status effects, and you survive the enrage phase.
That’s the formula.
I’ve walked you through each phase because I know how punishing this boss can be. But you’re ready now.
Here’s what matters most: Hit the elemental vulnerabilities hard. Keep your team clean of debuffs. And when that enrage timer starts ticking, you execute without hesitation.
The loot waiting for you on the other side is worth it. So is the experience (both kinds).
Take what you’ve learned here and push forward. Your epic adventure doesn’t end with Glarosoupa. It’s just getting started.
Check out our final glarosoupa fantasy guide dmggplayak for more strategies that actually work.
 Founder & Chief Creative Director
Tynvox Pell is the founder of Glarosoupa.com and the creative mind behind its overall vision and direction. He established the platform as a dedicated hub for gaming culture, esports insight, strategy development, and immersive lore exploration. With a strong passion for game mechanics and player psychology, he focuses on shaping content that not only informs but also elevates how players understand and experience games. Tynvox oversees the brand’s identity, long-term growth, and creative execution, ensuring everything aligns with a unified gaming-driven purpose. His leadership blends innovation with structure, turning Glarosoupa into a space where competitive and casual gamers can both grow. He continues to push the platform toward becoming a recognizable name in the gaming and esports knowledge space.
Founder & Chief Creative Director
Tynvox Pell is the founder of Glarosoupa.com and the creative mind behind its overall vision and direction. He established the platform as a dedicated hub for gaming culture, esports insight, strategy development, and immersive lore exploration. With a strong passion for game mechanics and player psychology, he focuses on shaping content that not only informs but also elevates how players understand and experience games. Tynvox oversees the brand’s identity, long-term growth, and creative execution, ensuring everything aligns with a unified gaming-driven purpose. His leadership blends innovation with structure, turning Glarosoupa into a space where competitive and casual gamers can both grow. He continues to push the platform toward becoming a recognizable name in the gaming and esports knowledge space.